




{Home Sunday} DIY Paper Dahlia Decor
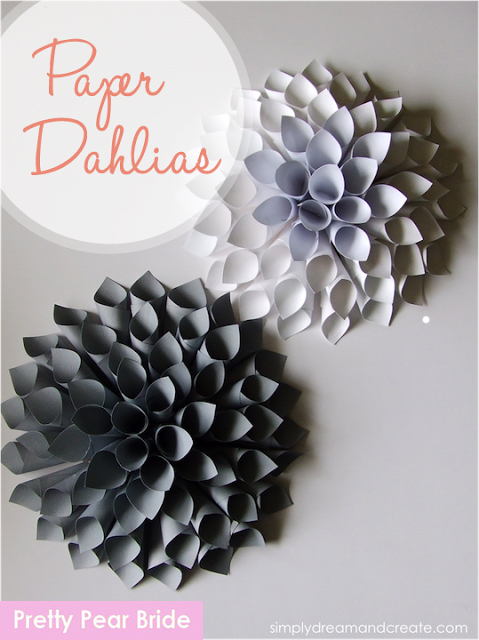
I love an easy project with a stunning result. I stumbled across the site Simply Dream & Create the other day and was in DIY decor heaven! One of my favorite projects on the site was this simplistic dahlia decor design.

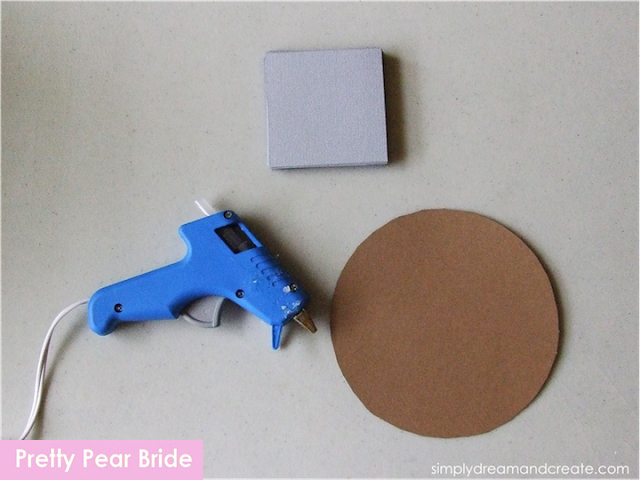
Step 1: Get Your Supplies!

- card stock paper
- craft paper
- glue gun
- wire
Step 2: Roll!

- You can either use 8.4×11 inch paper and cut them into fourths or, for a smaller look, use 12×12 paper and cut it into twelfths, which will result in 16 3×3 squares.
- Next, cut an 8 inch (or 6 inch if you’re opting for the smaller look) circle out of card stock.
- Then, roll the paper and secure them with hot glue.

Step 3: Hot Glue!
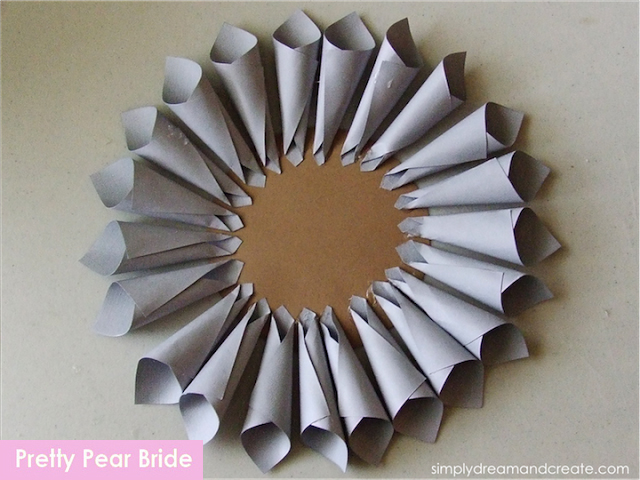
- Begin hot glueing your paper rolls onto the card stock, starting on the outside of the circle.
- Once the outside circle is full, make a second circle inside the first. Continue this step until you have a full, blooming flower.
Step 4: Hook It!
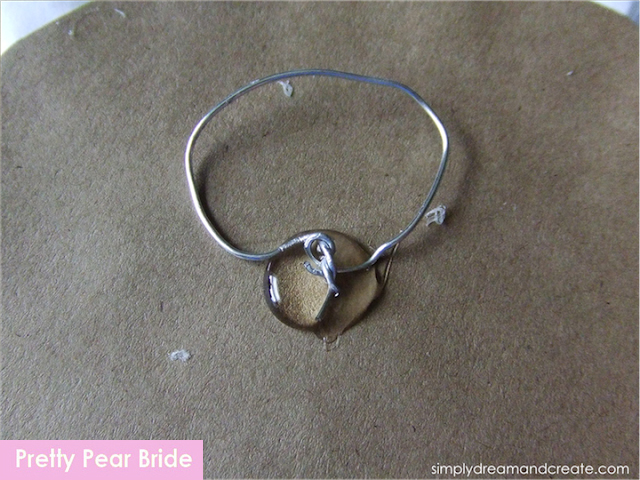
- To create a hook to hang your dahlia on, you can take a piece of wire and twist it into a circle. Then just hot glue it to the back of the flower.
And voila! You are finished!

Where would you hang this work of art? A bedroom? A wedding? A baby’s room? Let us know!
